CentOS系统Atlassian-jira-software-7.5.2安装部署详细教程
一、安装Jira应用程序
1.下载吉拉
下载适用于您的操作系统的安装程序:https://www.atlassian.com/software/jira/download
本教程使用版本:https://product-downloads.atlassian.com/software/jira/downloads/atlassian-jira-software-7.5.2-x64.bin
2.运行安装程序
使安装程序可执行。
[root@data opt]# chmod a+x atlassian-jira-software-7.5.2-x64.bin运行安装程序–我们建议使用 sudo运行安装程序,因为这将创建一个专用帐户来运行Jira,并允许您将Jira作为服务运行。
[root@data opt]# sudo ./atlassian-jira-software-7.5.2-x64.bin
Unpacking JRE ...
Starting Installer ...
Apr 30, 2021 2:08:28 PM java.util.prefs.FileSystemPreferences$1 run
INFO: Created user preferences directory.
Apr 30, 2021 2:08:28 PM java.util.prefs.FileSystemPreferences$2 run
INFO: Created system preferences directory in java.home.
This will install JIRA Software 7.5.2 on your computer.
OK [o, Enter], Cancel [c]
                                                                                                                                             Choose the appropriate installation or upgrade option.
Please choose one of the following:
Express Install (use default settings) [1], Custom Install (recommended for advanced users) [2, Enter], Upgrade an existing JIRA installation [3]
Where should JIRA Software be installed?
[/opt/atlassian/jira]
Default location for JIRA Software data
[/var/atlassian/application-data/jira]
Configure which ports JIRA Software will use.
JIRA requires two TCP ports that are not being used by any other
applications on this machine. The HTTP port is where you will access JIRA
through your browser. The Control port is used to startup and shutdown JIRA.
Use default ports (HTTP: 8080, Control: 8005) - Recommended [1, Enter], Set custom value for HTTP and Control ports [2]
JIRA can be run in the background.
You may choose to run JIRA as a service, which means it will start
automatically whenever the computer restarts.
Install JIRA as Service?
Yes [y, Enter], No [n]
y
Details on where JIRA Software will be installed and the settings that will be used.
Installation Directory: /opt/atlassian/jira
Home Directory: /var/atlassian/application-data/jira
HTTP Port: 8080
RMI Port: 8005
Install as service: Yes
Install [i, Enter], Exit [e]
i
Extracting files ...
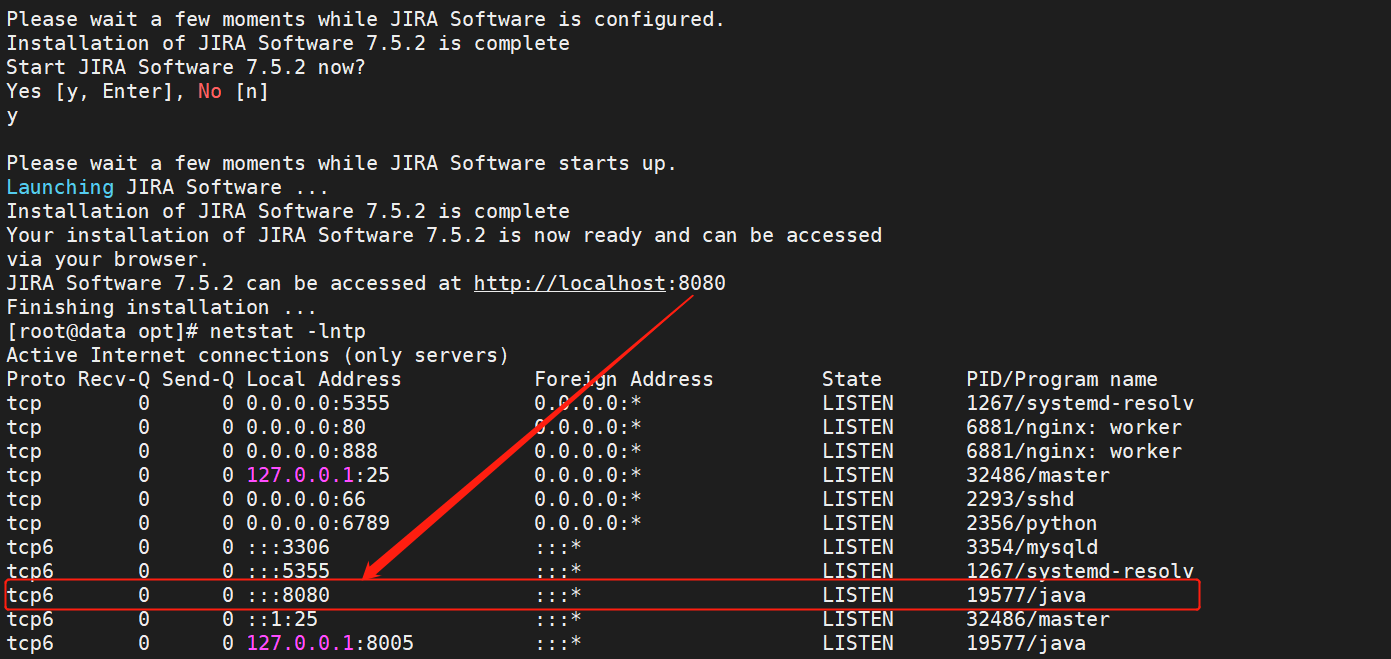
Please wait a few moments while JIRA Software is configured.
Installation of JIRA Software 7.5.2 is complete
Start JIRA Software 7.5.2 now?
Yes [y, Enter], No [n]
y
Please wait a few moments while JIRA Software starts up.
Launching JIRA Software ...
Installation of JIRA Software 7.5.2 is complete
Your installation of JIRA Software 7.5.2 is now ready and can be accessed
via your browser.
JIRA Software 7.5.2 can be accessed at http://localhost:8080
Finishing installation
按照提示安装Jira。 系统将要求您提供以下信息:
- 安装类型 –选择选项2(自定义)以获得最大控制。
- 目标目录 –这是Jira的安装目录。
- 主目录 –将在其中存储Jira数据(例如日志,搜索索引和文件)。
- TCP端口 端口 –这些 是HTTP连接器端口,Jira将在其上运行控制端口。 除非您在同一端口上运行另一个应用程序,否则请坚持默认设置。
- 作为服务安装 –仅当您以以下身份运行安装程序时,此选项才可用 sudo.
- 安装完成后 http:// localhost:8080 ,请在浏览器中访问 以开始设置过程。
(代替 8080如果您在安装过程中选择了其他端口)。

3.选择设置方法
选择“ 我自己设置”
4.连接到您的数据库
- 如果您尚未这样做,那么该创建数据库了。 有关详细信息,请参见此页面的“开始之前”部分。
- 选择 我自己的数据库 。
- 选择数据库类型,然后输入数据库的详细信息。
- Jira使用标准JDBC数据库连接连接到您的数据库。 连接池在Jira中处理,您可以 使用 进行更改 Jira配置工具 稍后 。
- 如果您使用的是Oracle或MySQL,则还有一个额外的步骤:
- 下载并解压缩适当的数据库JDBC驱动程序。
- 将JAR文件放入您的 <jira-installation>/lib文件夹,然后继续安装向导。
[root@localhost opt]# cp mysql-connector-java-5.1.49.jar /opt/atlassian/jira/atlassian-jira/WEB-INF/lib在设置向导中:
- 驱动程序类名称 –数据库驱动程序的Java类名称。 如果不确定,请查看数据库的文档。
- 数据库URL 数据库 – 的JDBC URL。 如果不确定,请查看数据库的文档。
- 用户名 和 密码 – Jira可以用来访问数据库的有效用户名和密码。
5.设置应用程序属性
- 为您的Jira网站命名。
- 选择您的网站应该是私有的,还是任何人都可以注册。 您可以稍后更改。
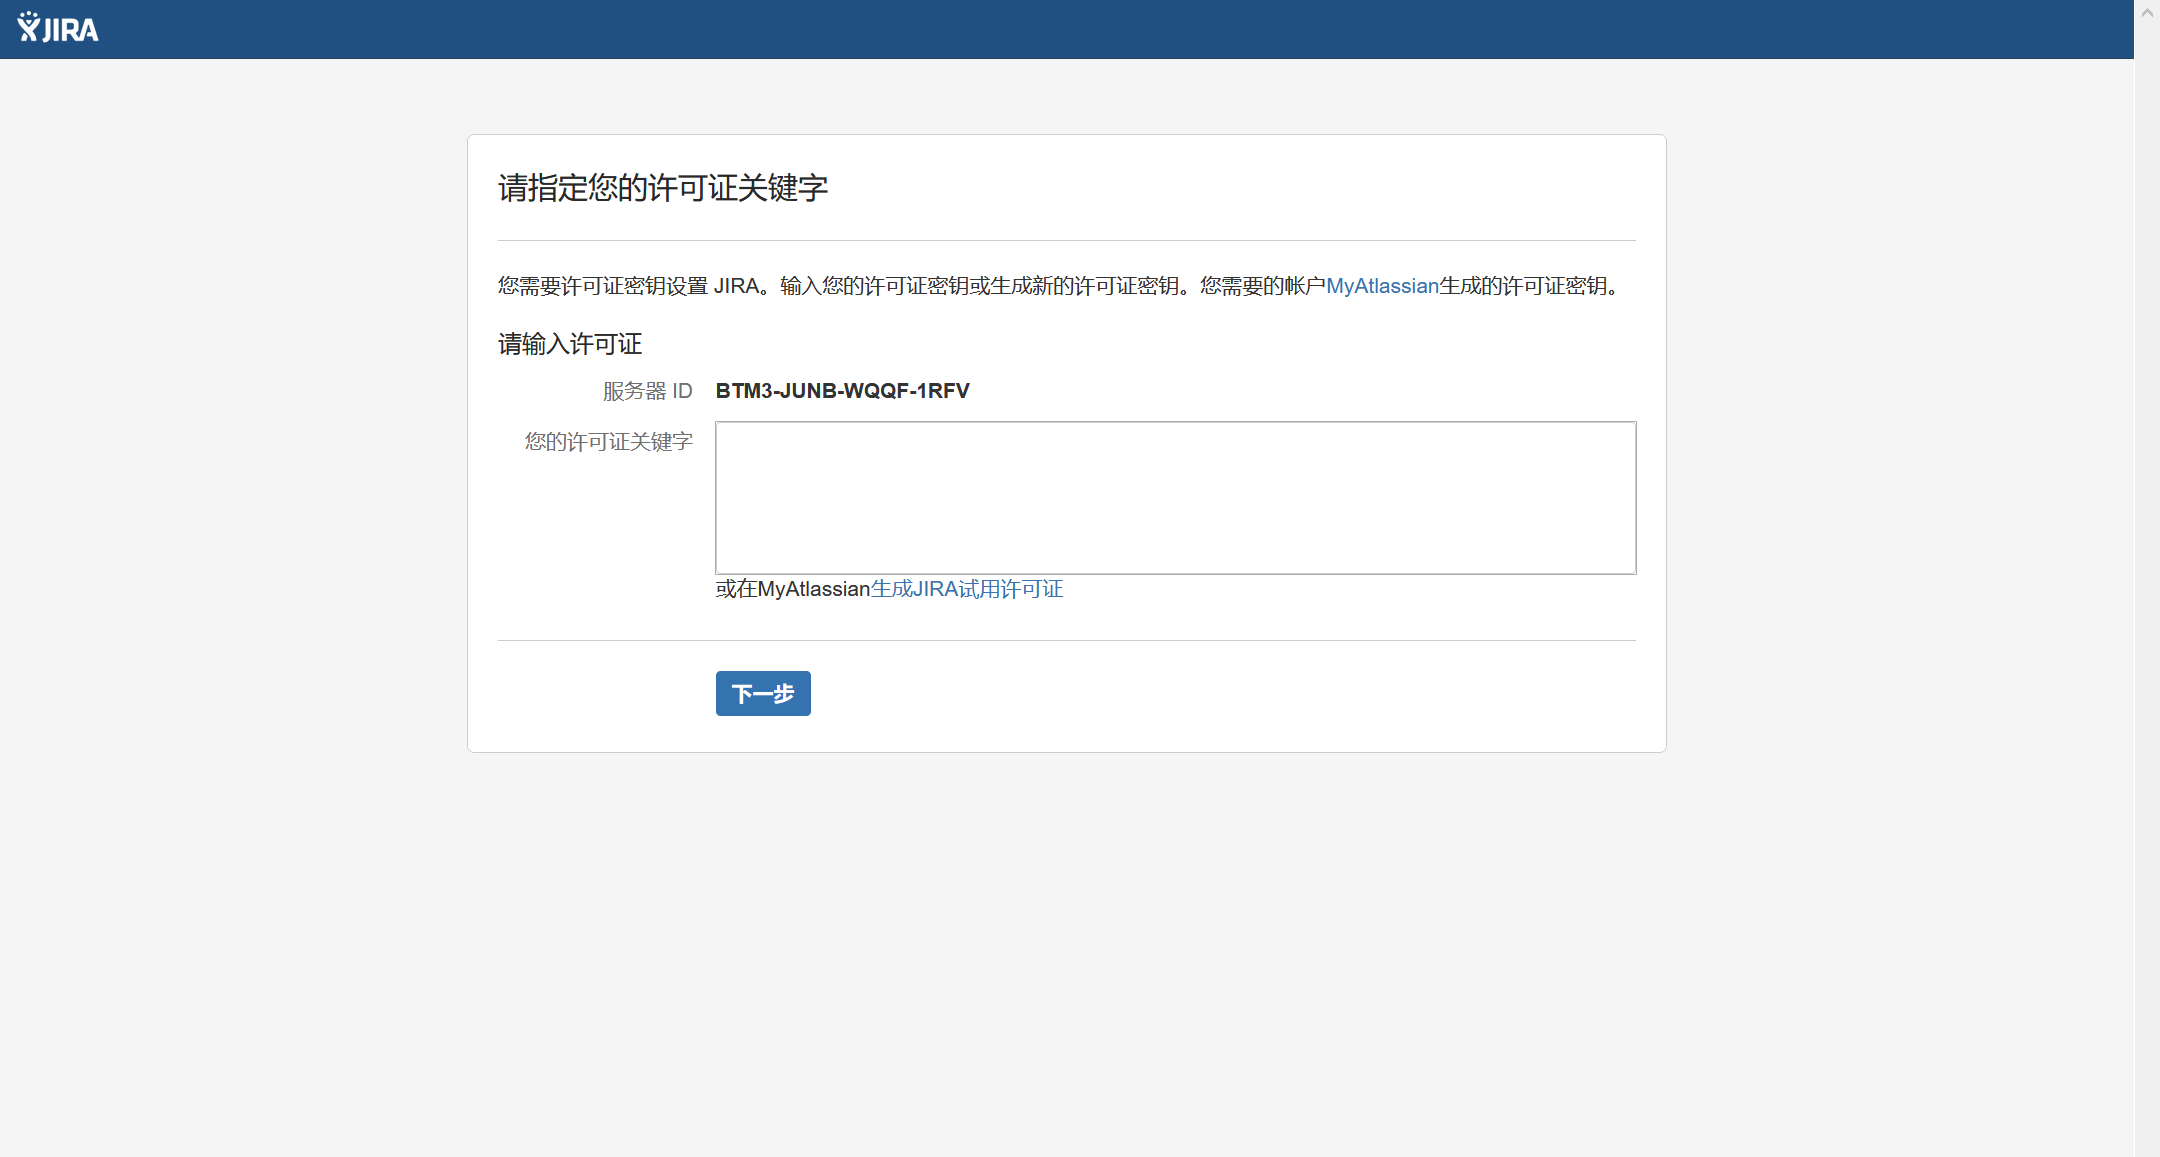
- 输入您的基本URL-这是人们将用来访问您的Jira网站的地址。输入您的许可证
按照提示登录 my.atlassian.com 以检索您的许可证,或输入许可证密钥。


6.创建您的管理员帐户
输入管理员帐户的详细信息。 设置完成后,您可以添加更多管理员。
7.设置电子邮件通知
输入您的邮件服务器的详细信息。 这将使Jira在问题发生变化时发送通知。
8.开始使用Jira
就是这样! 可从您的基本URL或类似的URL访问您的Jira网站: http://<computer_name_or_IP_address>:<port>
以下是一些可以帮助您使团队运转起来的事情:
- 配置SSL或HTTPS 以使Jira和您的团队更加安全。
[root@localhost opt]# vim /var/atlassian/application-data/jira/dbconfig.xml    # DB设置
[root@localhost opt]# /opt/atlassian/jira/bin/start-jira.sh                # 启动
[root@localhost opt]# tail -f -n 500 /opt/atlassian/jira/logs/catalina.out # 日志
[root@localhost opt]# vim /opt/atlassian/jira/conf/server.xml               # 端口设置
[root@localhost opt]# /opt/atlassian/jira/                                 # 安装路径
[root@localhost opt]# cat /var/atlassian/application-data/jira                 # 数据存放路径
/opt/atlassian/jira/atlassian-jira/WEB-INF/classes/database-defaults
二、破解步骤
1、许可证破解
下载并上传atlassian-extras-3.2.jar至应用目录/opt/atlassian/jira/atlassian-jira/WEB-INF/lib/
[root@localhost opt]# cp atlassian-extras-3.2.jar /opt/atlassian/jira/atlassian-jira/WEB-INF/lib/2、插件使用破解
下载atlassian-universal-plugin-manager-plugin-2.22.9.jar并上传至/opt/目录
[root@localhost opt]# cp atlassian-universal-plugin-manager-plugin-2.22.9.jar /opt/atlassian/jira/atlassian-jira/WEB-INF/lib/三、故障排除
- 某些防病毒软件或其他Internet安全工具可能会干扰Jira安装过程,并阻止该过程成功完成。 如果您在使用防病毒/ Internet安全工具时遇到或预计会遇到此类问题,请先禁用此工具,然后再继续安装Jira。
- , Linux OOM Killer 当服务器上的内存太少时 有时可以杀死Jira进程。 请参阅 如何配置Linux内存不足杀手 。
请访问 安装故障排除 我们知识库中的 以获取更多帮助。
本文链接:
/archives/10027
版权声明:
本站所有文章除特别声明外,均采用 CC BY-NC-SA 4.0 许可协议。转载请注明来自
三多运维!
喜欢就支持一下吧