1、下载node
wget https://nodejs.org/dist/v16.8.0/node-v16.8.0-linux-x64.tar.xz
2、解压压缩包
xz -d node-v8.11.2-linux-x64.tar.xz
tar -xvf node-v8.11.2-linux-x64.tar
3、将解压后的文件 重名为node 并移动到到 /usr/local 目录下
mv node-v10.14.1-linux-x64 node
rm node /usr/local
4、设置软链接
ln -s /usr/local/node/bin/node /usr/local/bin/node
ln -s /usr/local/node/bin/npm /usr/local/bin/npm
5、验证命令是否生效
node -v
npm -v
6、安装yarn
npm i -g yarn
7、设置软连接
ln -s /usr/local/node/bin/yarn /usr/local/bin/yarn
8、验证yarn
yarn -v
yarn install
9、添加环境变量
vi /etc/profile
export NODE_HOME=/usr/local/node
export PATH=$NODE_HOME/bin:$PATH
10、刷新配置
source /etc/profile
11、如果需要卸载nodeJs、npm重装的可以使用如下命令
yum remove nodejs npm -y
在服务器上把node,npm,yarn 的环境变量设置好之后,就不需要再在Jenkins里面安装NodeJs插件,后面直接使用命令在shell脚本里面执行就OK了!
1、安装nginx(由于我安装了epel-release,可以通过yum直接安装)
yum -y install nginx
2、配置nginx 资源目录和端口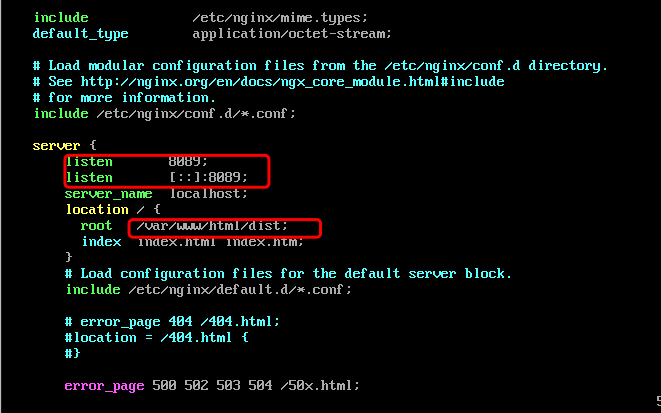
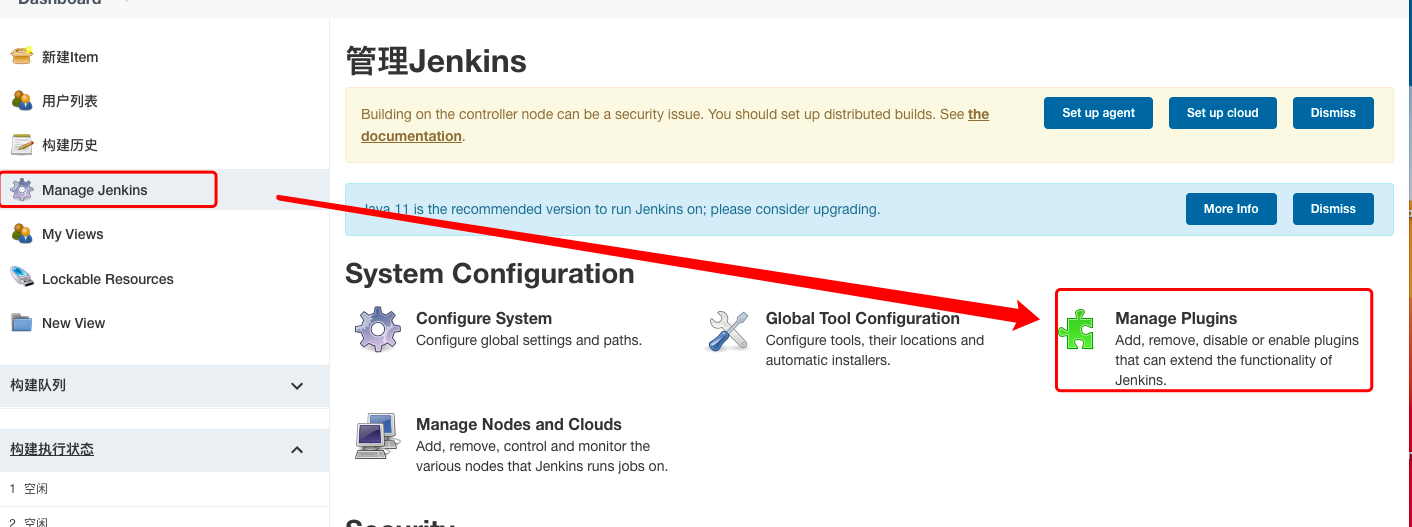
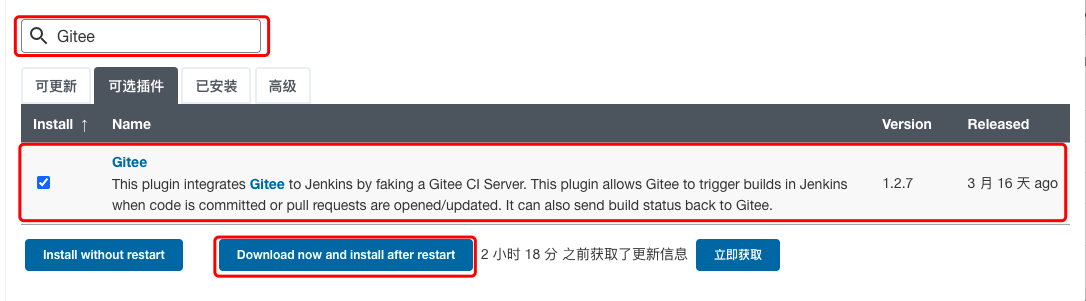
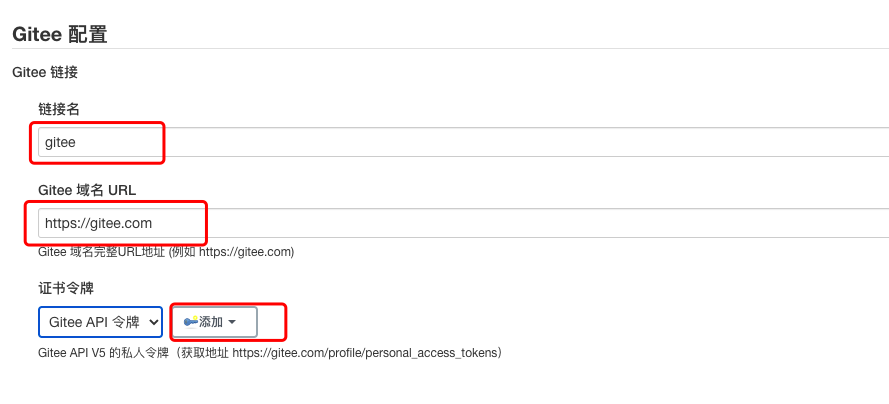
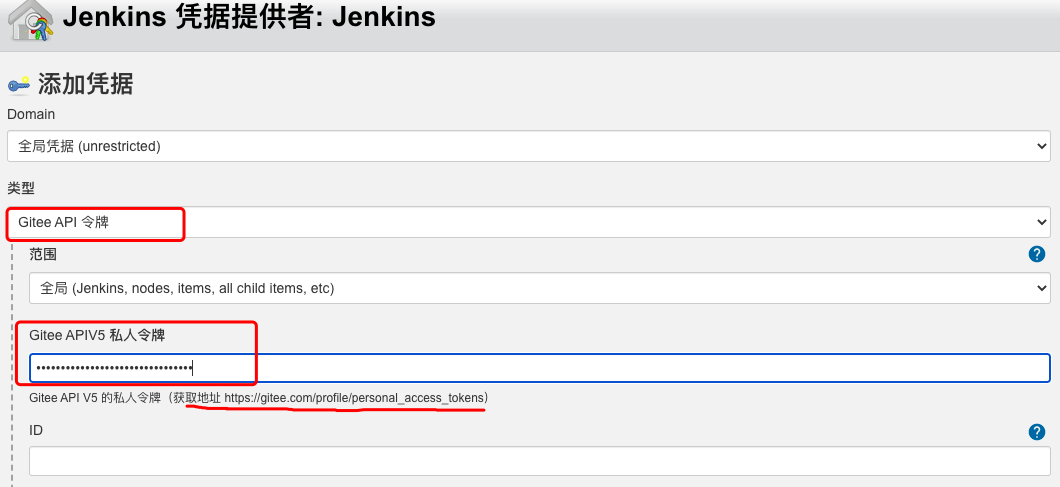
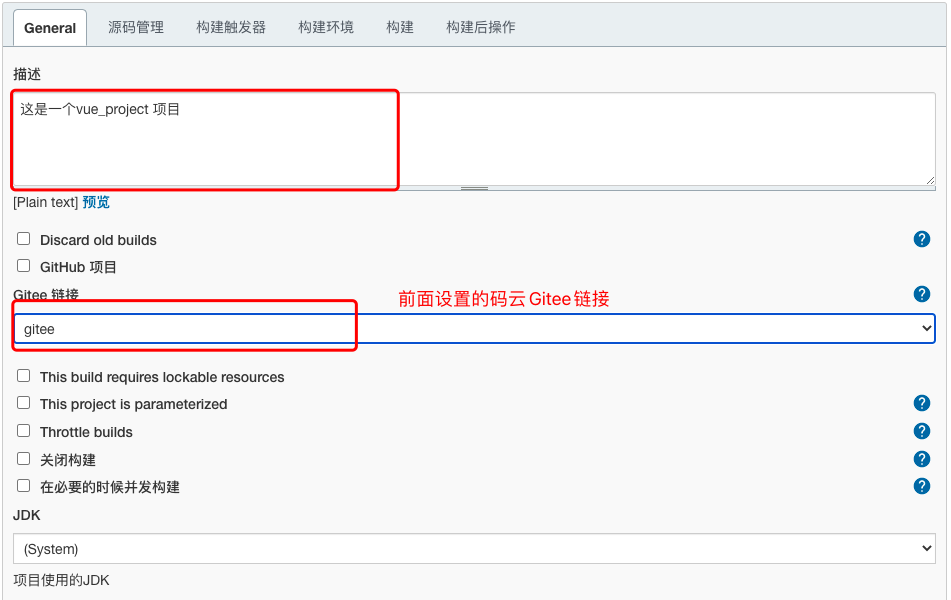
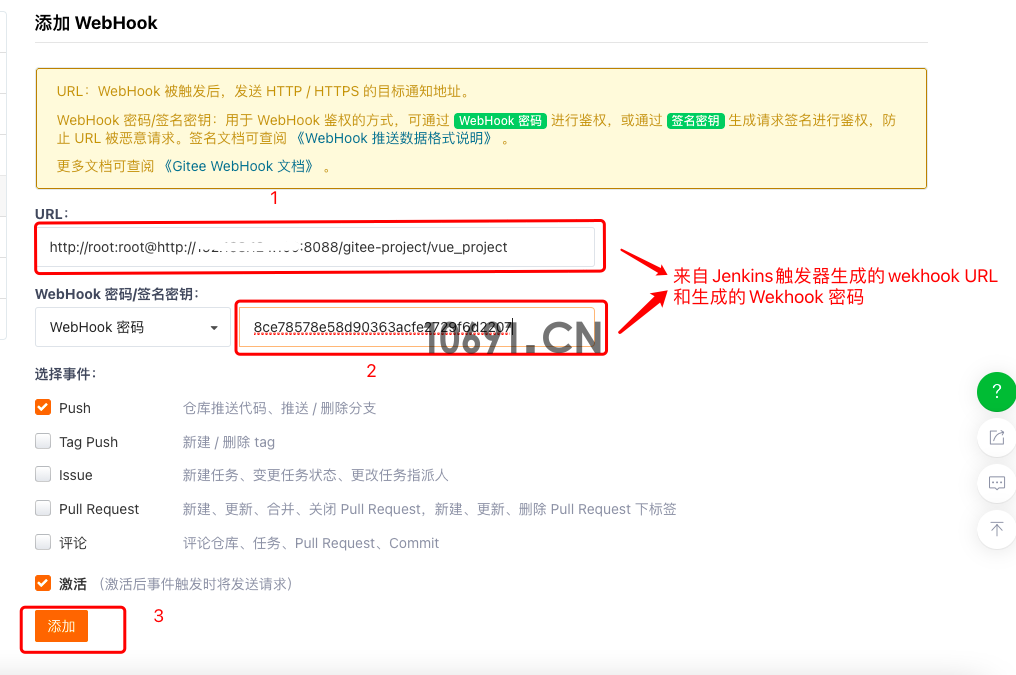
2、关联码云Gitee账号,设置Gitee链接

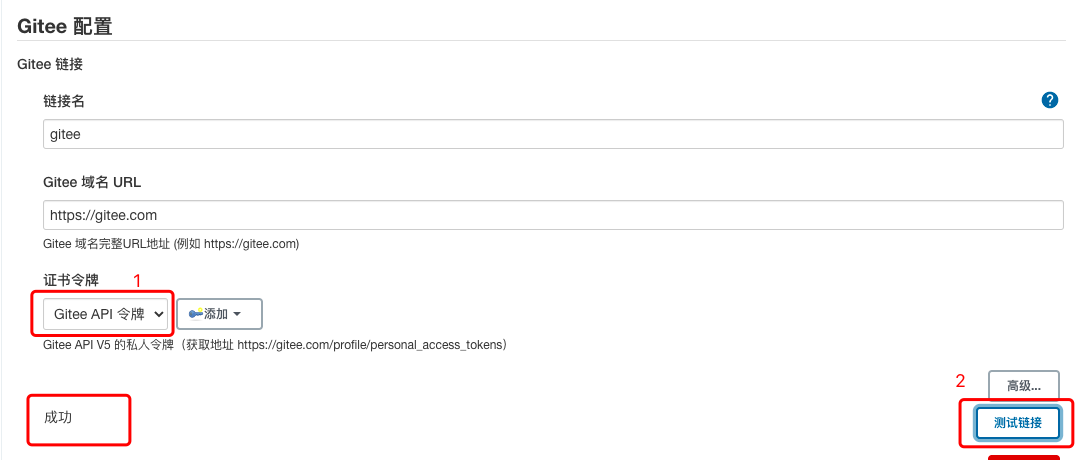
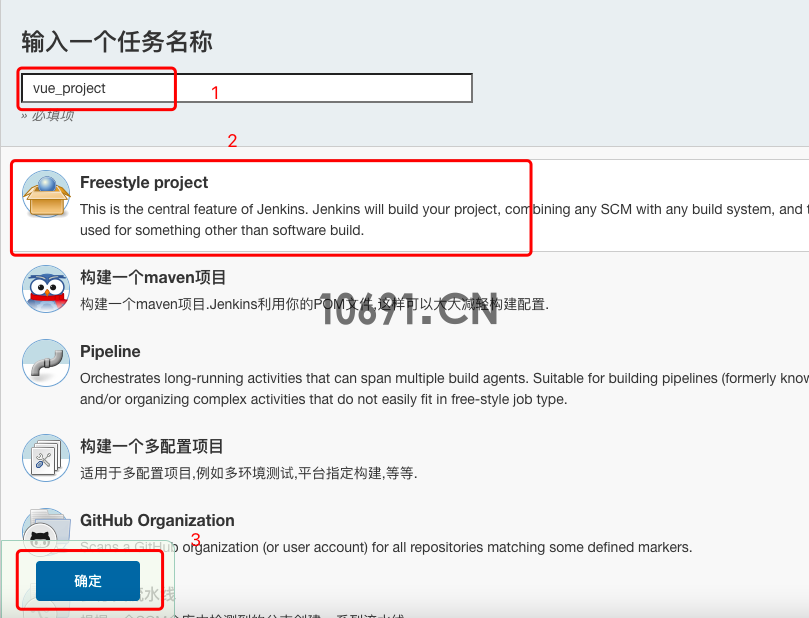


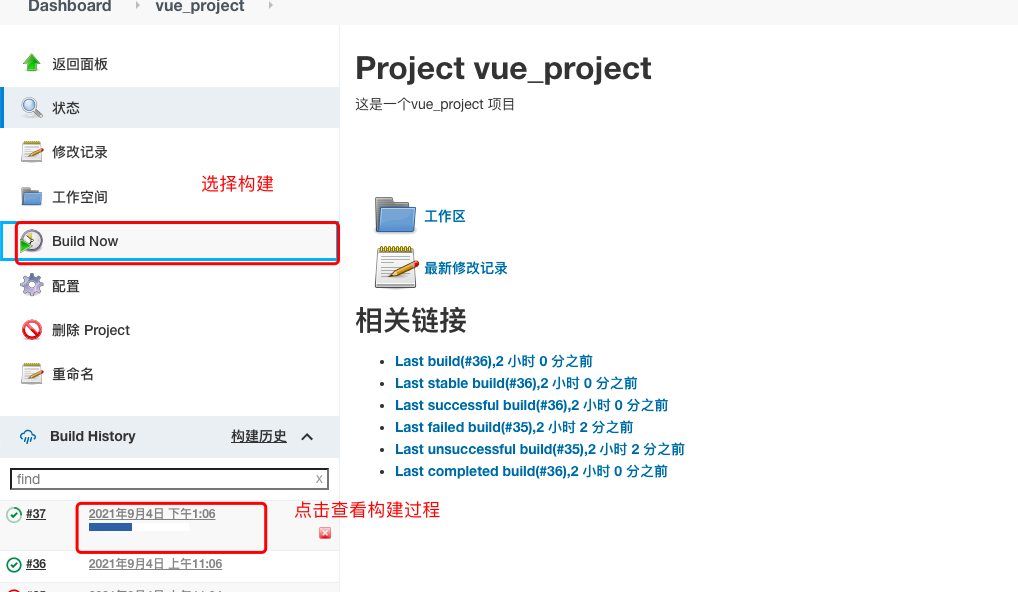
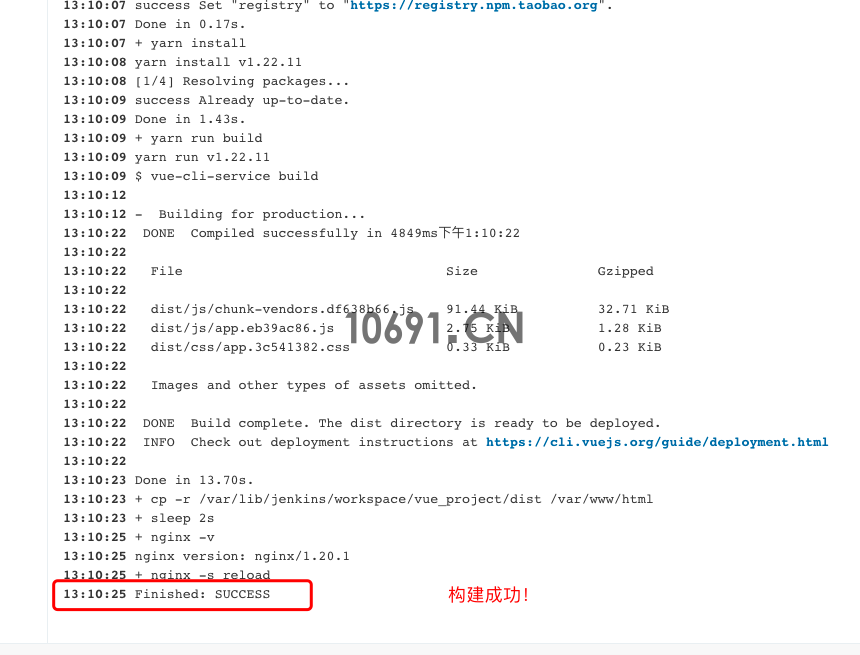
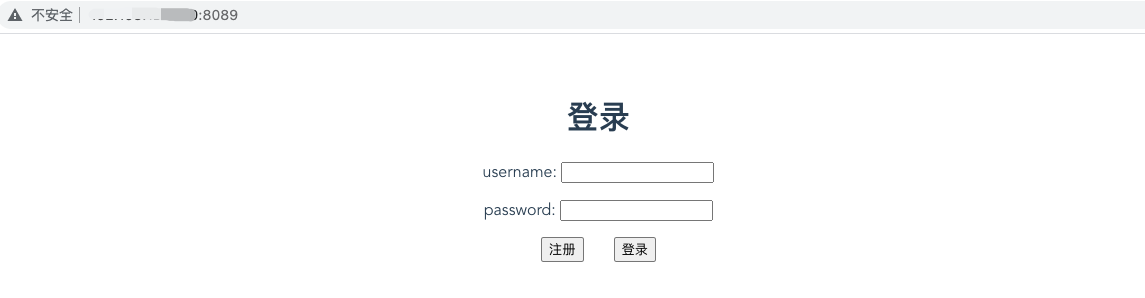
访问成功,关于Jenkins上自动化部署Vue,就完成了!
提示:如遇链接失效,请在评论区留言反馈