1、阿里云ECS服务器 CentOS8.0(CentOS6、CentOS7均适用)
2、Atlassian JIRA 8.13.6(适用于所以JIRA版本)
3、MySQL 8.0.18(MySQL8.0.*都适用)
4、JDK1.8.271(jdk1.8.*以上)
以上环境理论上均至此
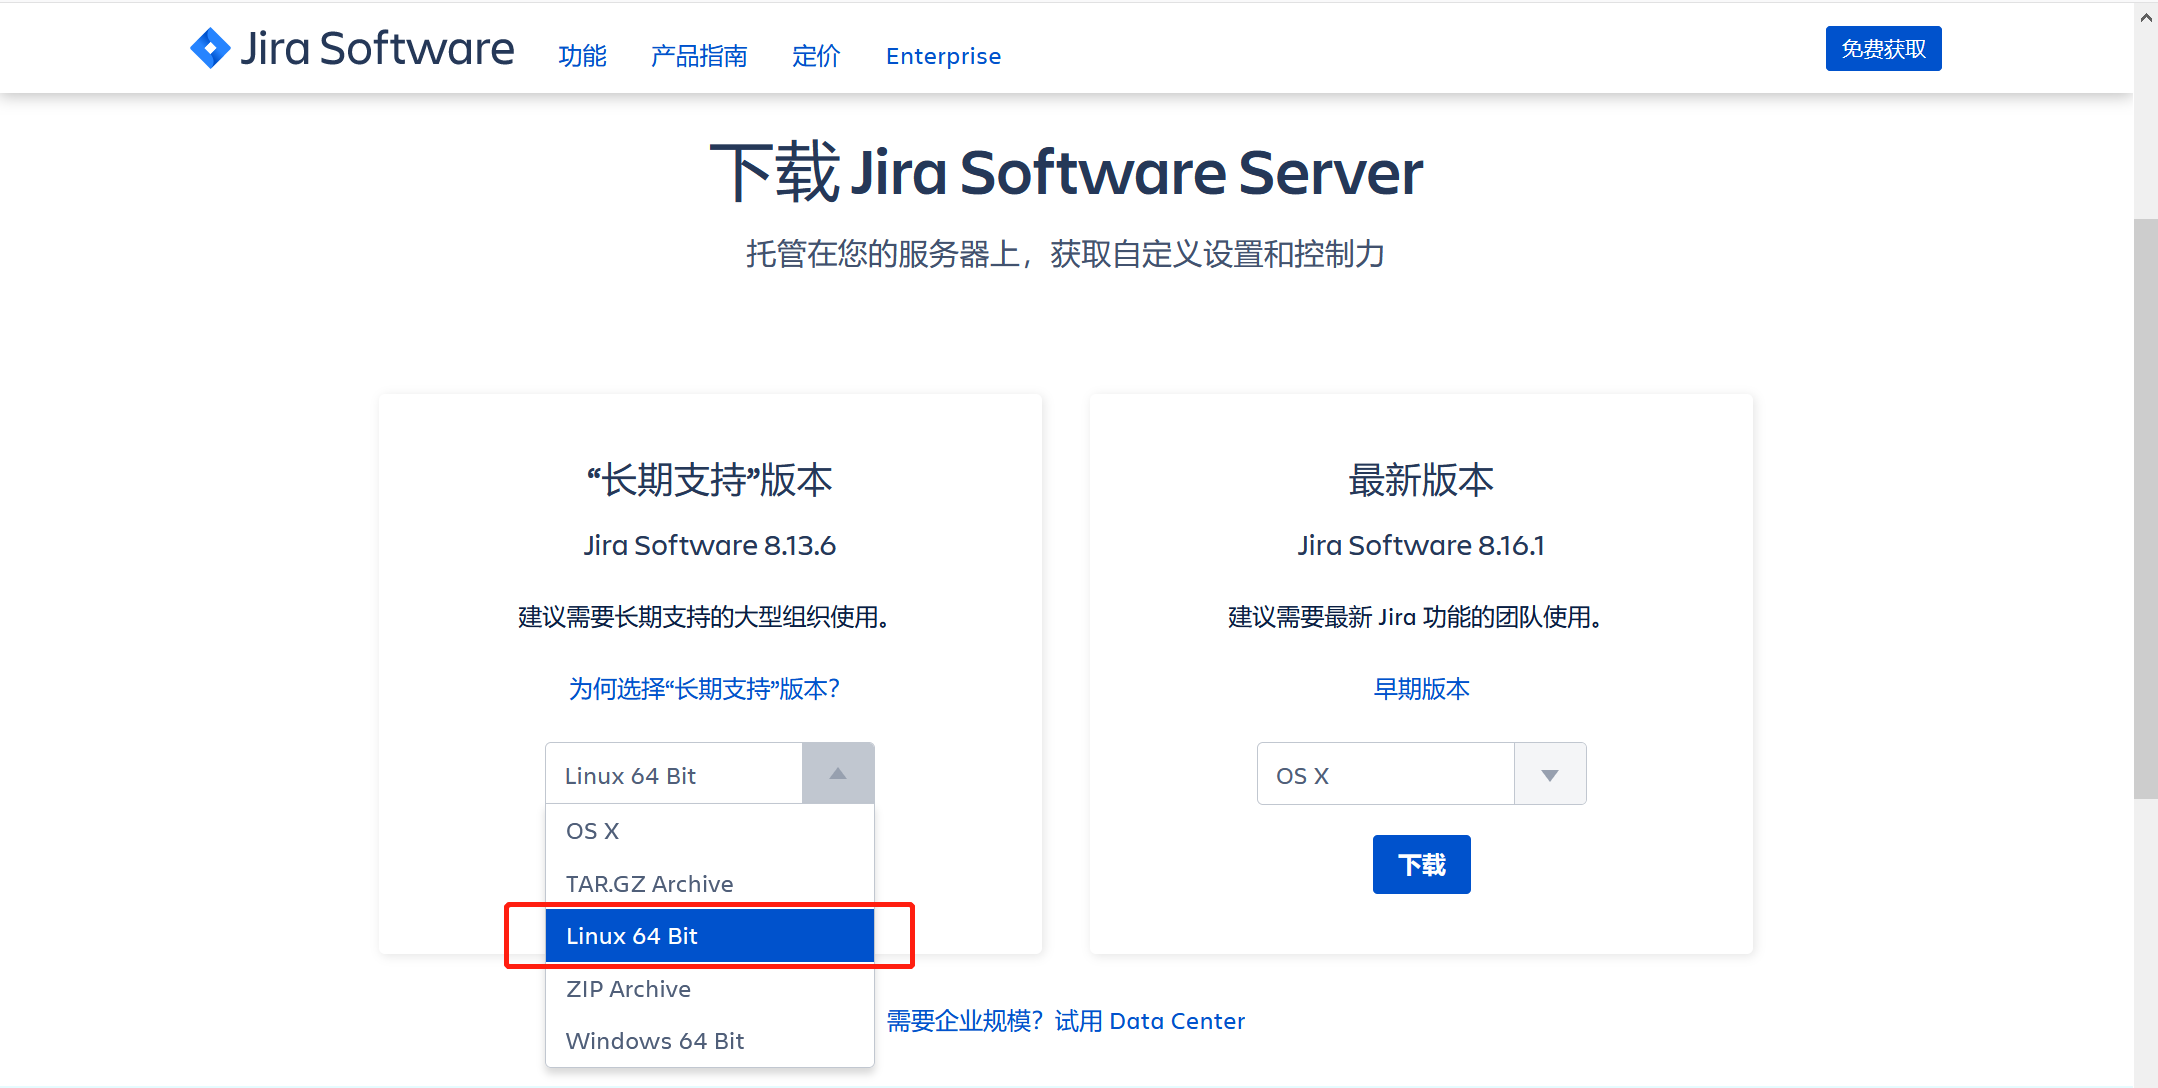
JIRA-8.13.6官方地址:https://www.atlassian.com/zh/software/jira/download
bin格式源文件:atlassian-jira-software-8.13.6-x64.bin
[root@mysql-8-0-18 ~]# cd /opt/
[root@mysql-8-0-18 opt]# ll
总用量 431572
-rwxr-xr-x  1 root root 409833111 5月   5 14:56 atlassian-jira-software-8.13.6-x64.bin
-rw-r--r-- 1 root root 3831411 5月 5 14:56 mysql-connector-java-8.0.18.tar.gz[root@mysql-8-0-18 opt]# chmod a+x /opt/atlassian-jira-software-8.13.6-x64.bin[root@mysql-8-0-18 opt]# ./atlassian-jira-software-8.13.6-x64.bin
Unpacking JRE ...
Starting Installer ...
This will install Jira Software 8.13.6 on your computer.
OK [o, Enter], Cancel [c]
Click Next to continue, or Cancel to exit Setup.
Choose the appropriate installation or upgrade option.
Please choose one of the following:
Express Install (use default settings) [1], Custom Install (recommended for advanced users) [2, Enter], Upgrade an existing Jira installation [3]
1
Details on where Jira Software will be installed and the settings that will be used.
Installation Directory: /opt/atlassian/jira
Home Directory: /var/atlassian/application-data/jira
HTTP Port: 8080
RMI Port: 8005
Install as service: Yes
Install [i, Enter], Exit [e]
Extracting files ...
Please wait a few moments while Jira Software is configured.
Installation of Jira Software 8.13.6 is complete
Start Jira Software 8.13.6 now?
Yes [y, Enter], No [n]
y
Please wait a few moments while Jira Software starts up.
Launching Jira Software ...
Installation of Jira Software 8.13.6 is complete
Your installation of Jira Software 8.13.6 is now ready and can be accessed
via your browser.
Jira Software 8.13.6 can be accessed at http://localhost:8080
Finishing installation ...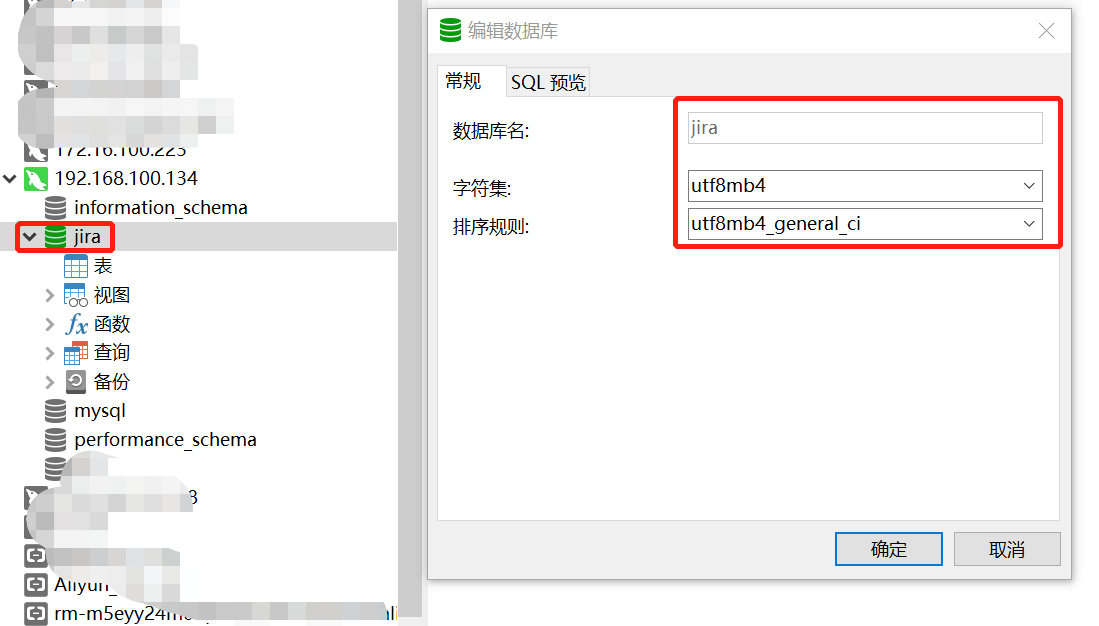
create user 'jira'@'localhost' identified WITH mysql_native_password by 'jira@admin';
GRANT REPLICATION SLAVE ON *.* to 'jira'@'localhost' ;
grant all privileges on jira.* to 'jira'@'localhost' with grant option;
flush privileges;
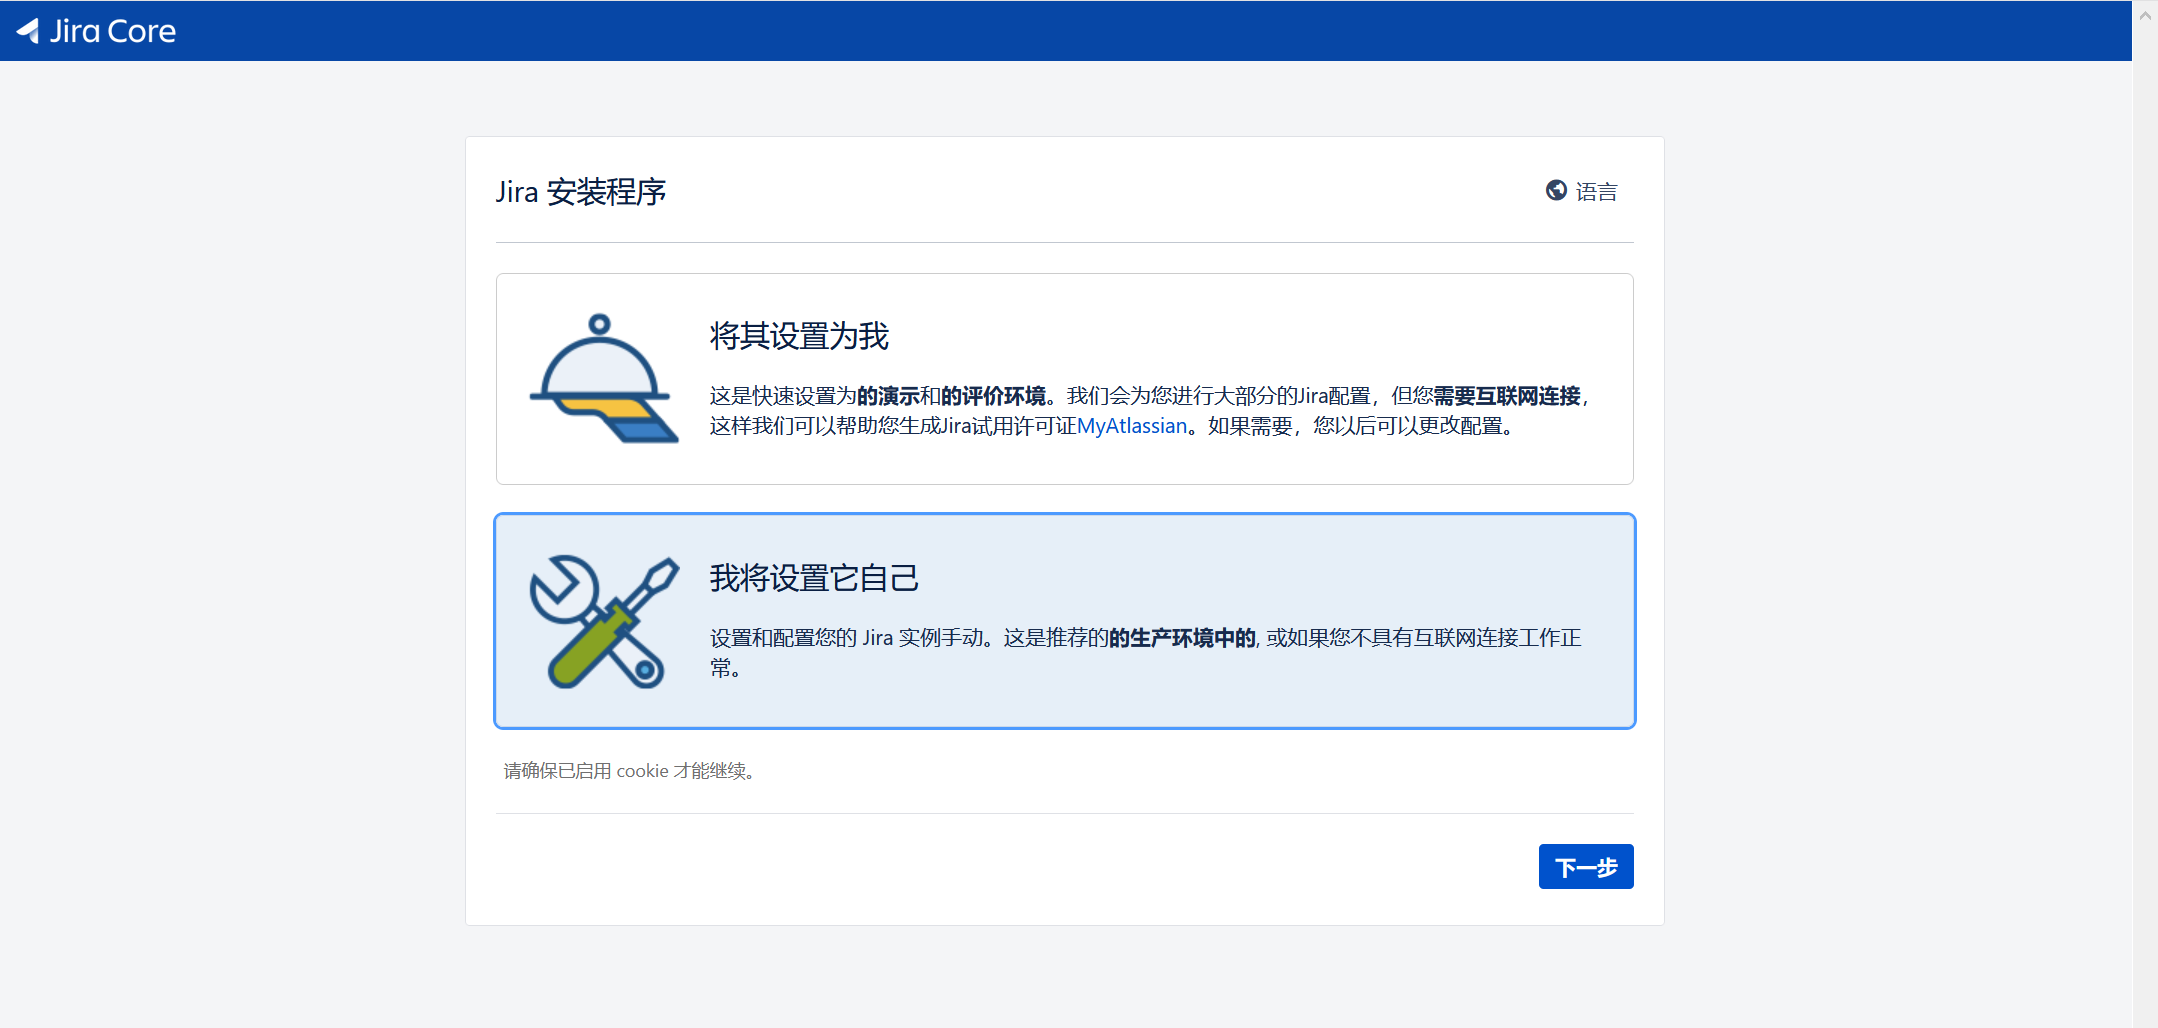
下一步
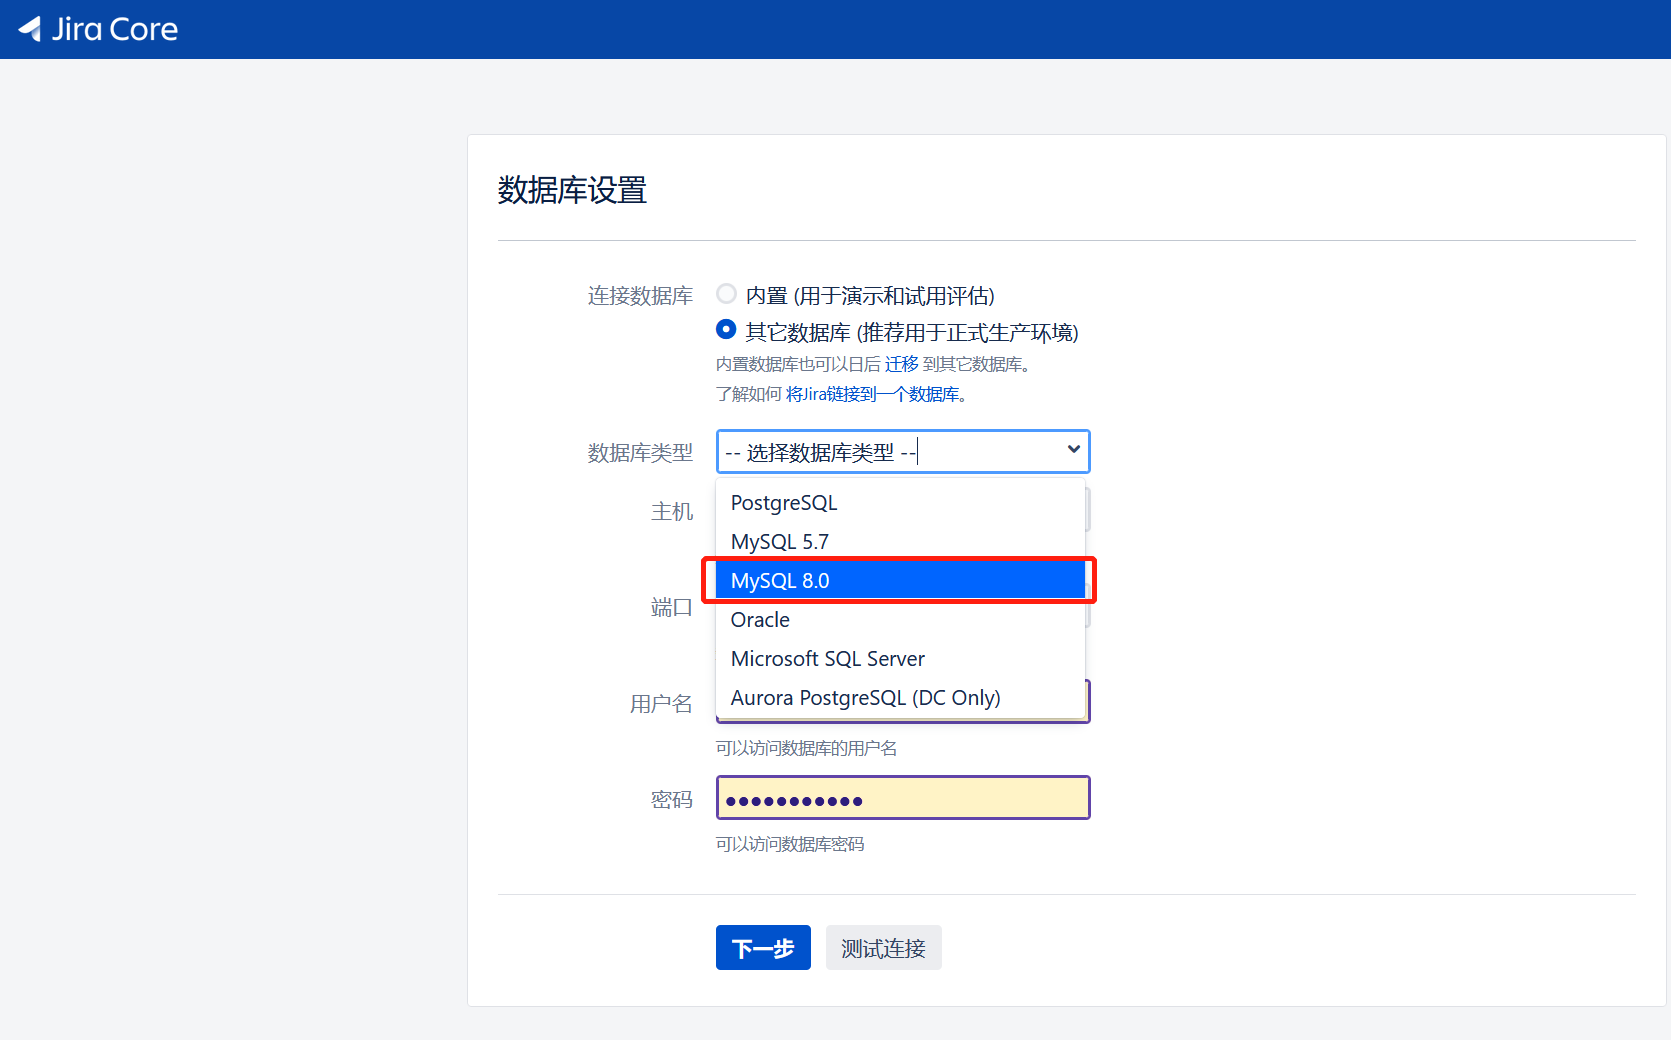
本次我们是用MySQL-8.0.18+JIRA组合实验,选MySQL 8.0即可,填写第五步骤的数据库注册信息,下一步;
遇到如下报错“找不到驱动:com.mysql.cj.jdbc.Driver”
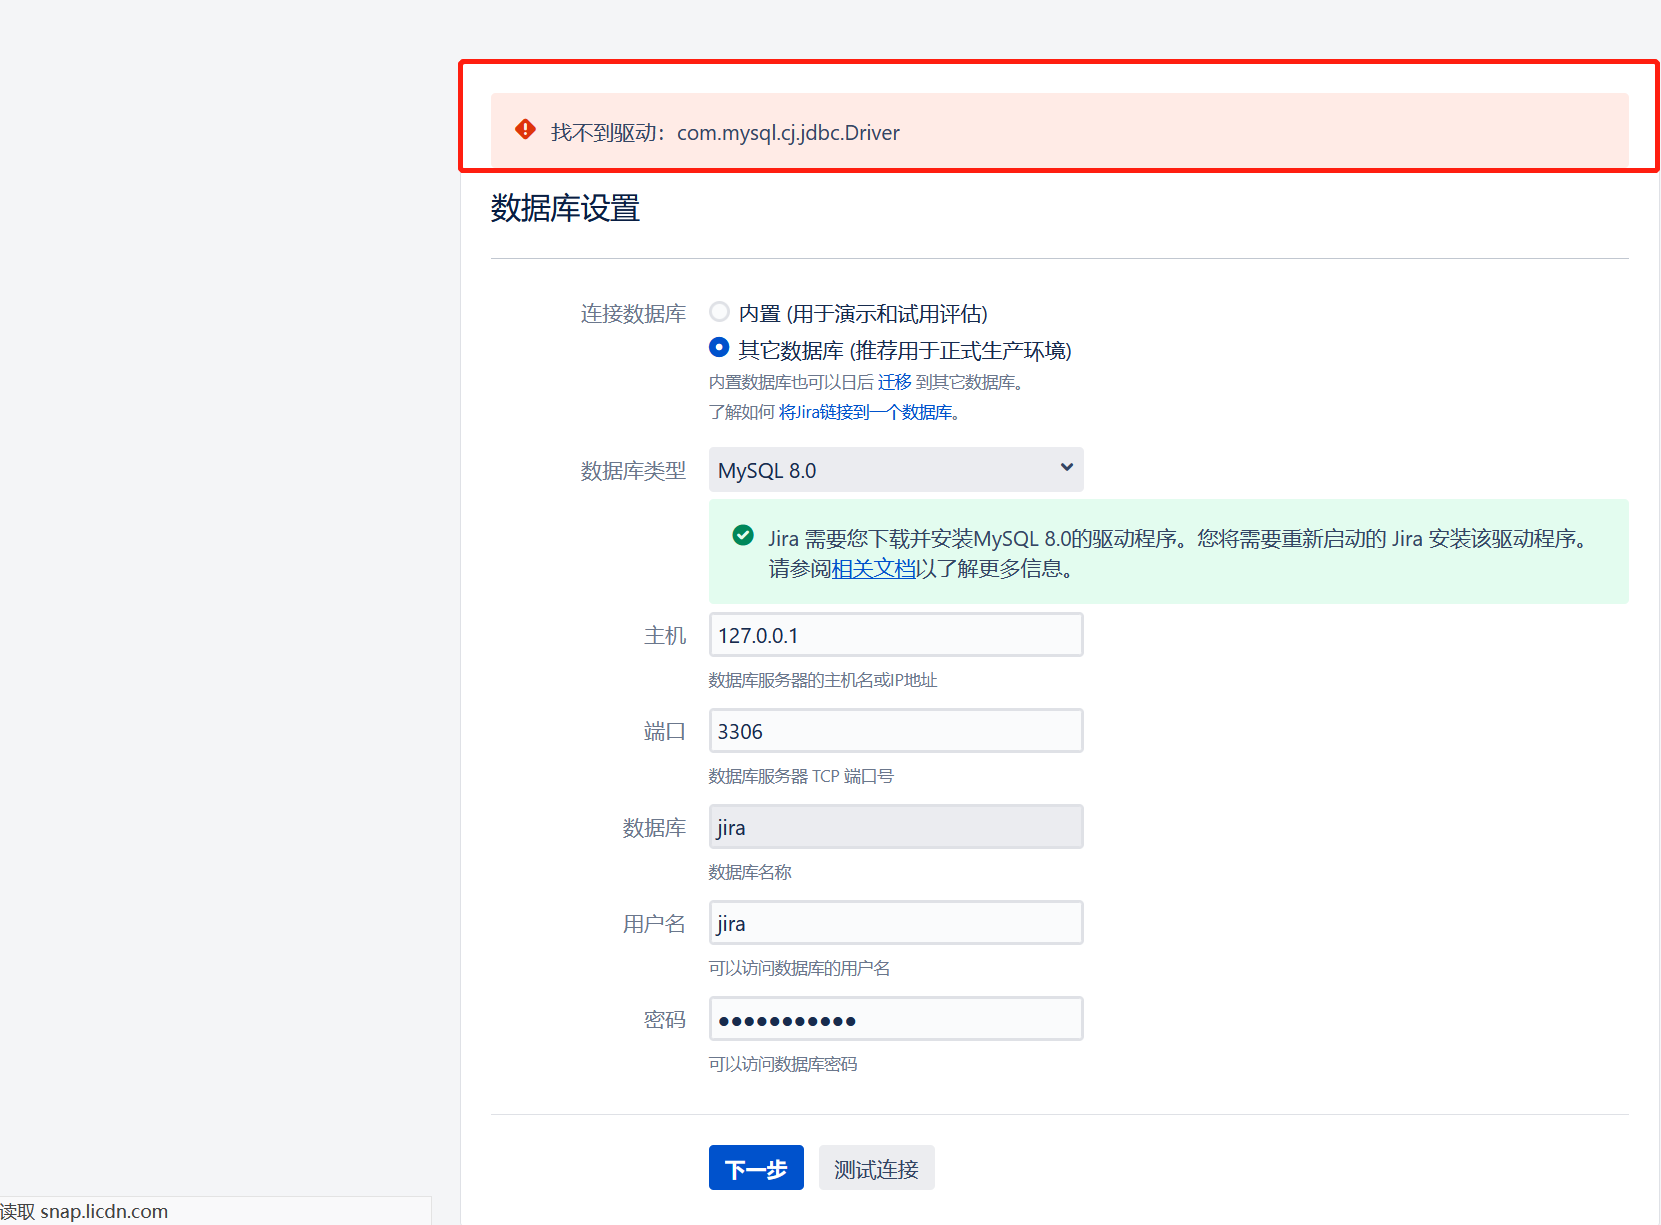
解决“找不到驱动:com.mysql.cj.jdbc.Driver”的官方解决方案步骤
地址:https://cdn.mysql.com/archives/mysql-connector-java-8.0/mysql-connector-java-8.0.18.tar.gz
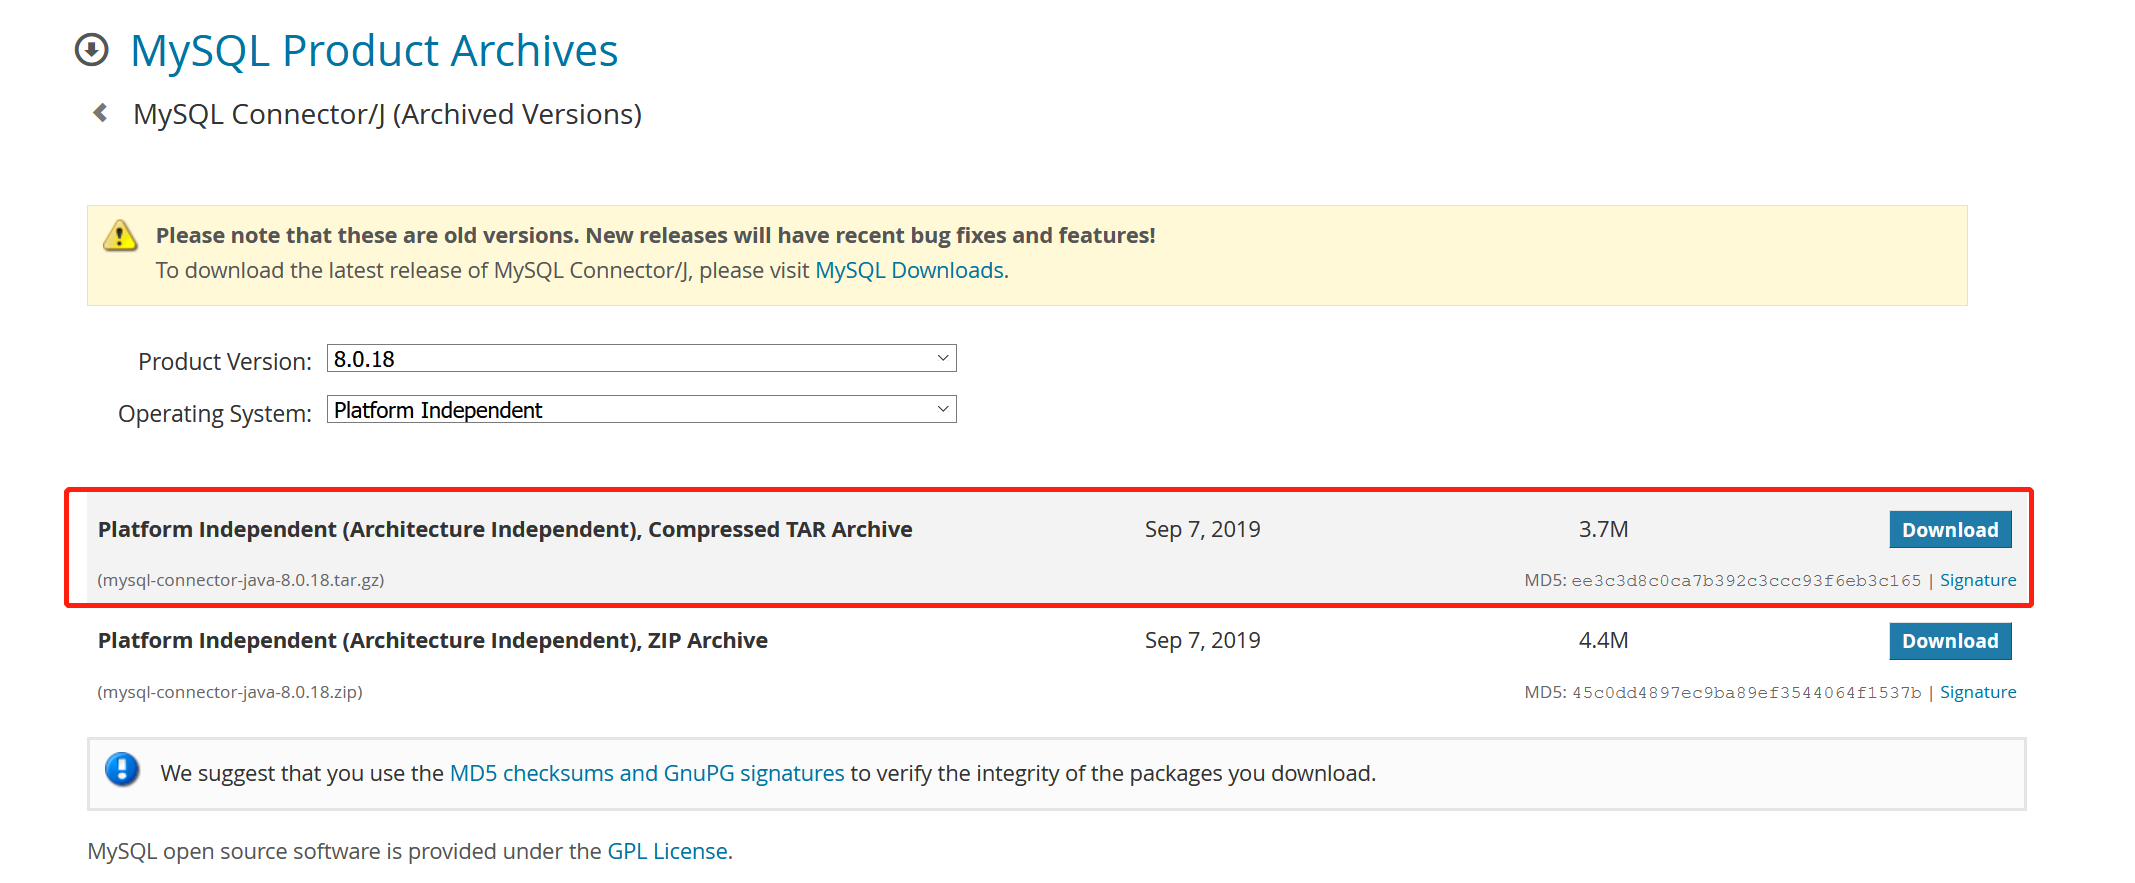
[root@mysql-8-0-18 opt]# ll
总用量 431572
-rwxr-xr-x  1 root root 409833111 5月   5 14:56 atlassian-jira-software-8.13.6-x64.bin
-rw-r--r--  1 root root   3831411 5月   5 14:56 mysql-connector-java-8.0.18.tar.gz

[root@mysql-8-0-18 opt]# tar xvf mysql-connector-java-8.0.18.tar.gz[root@mysql-8-0-18 opt]# cp mysql-connector-java-8.0.18/mysql-connector-java-8.0.18.jar /opt/atlassian/jira/atlassian-jira/WEB-INF/lib/[root@mysql-8-0-18 opt]# cd /opt/atlassian/jira/bin/
[root@mysql-8-0-18 bin]# ./start-jira.sh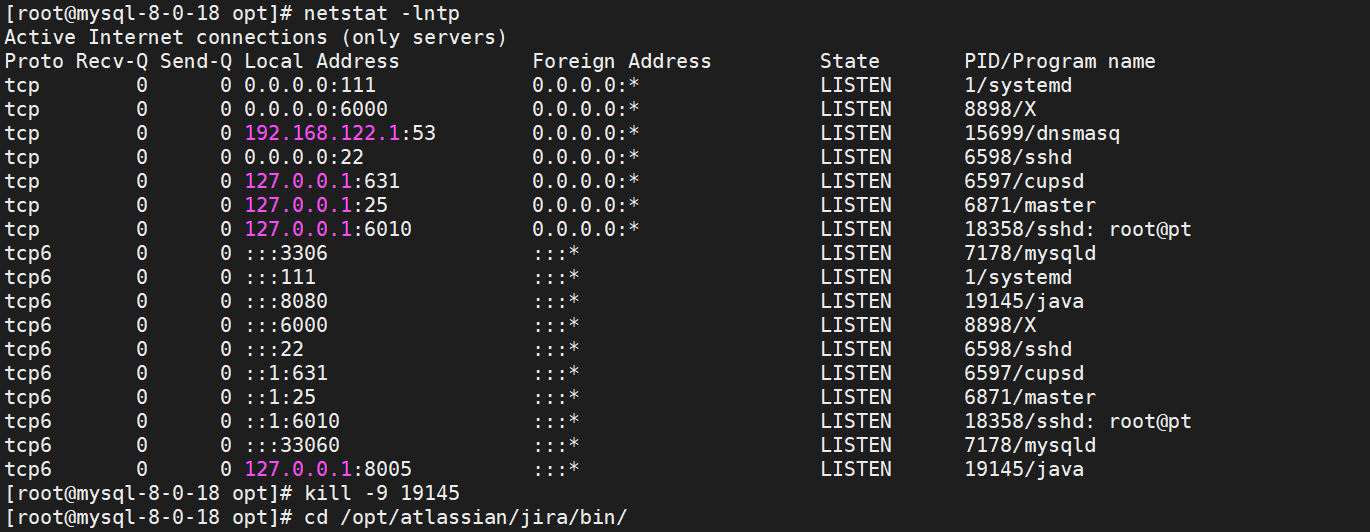
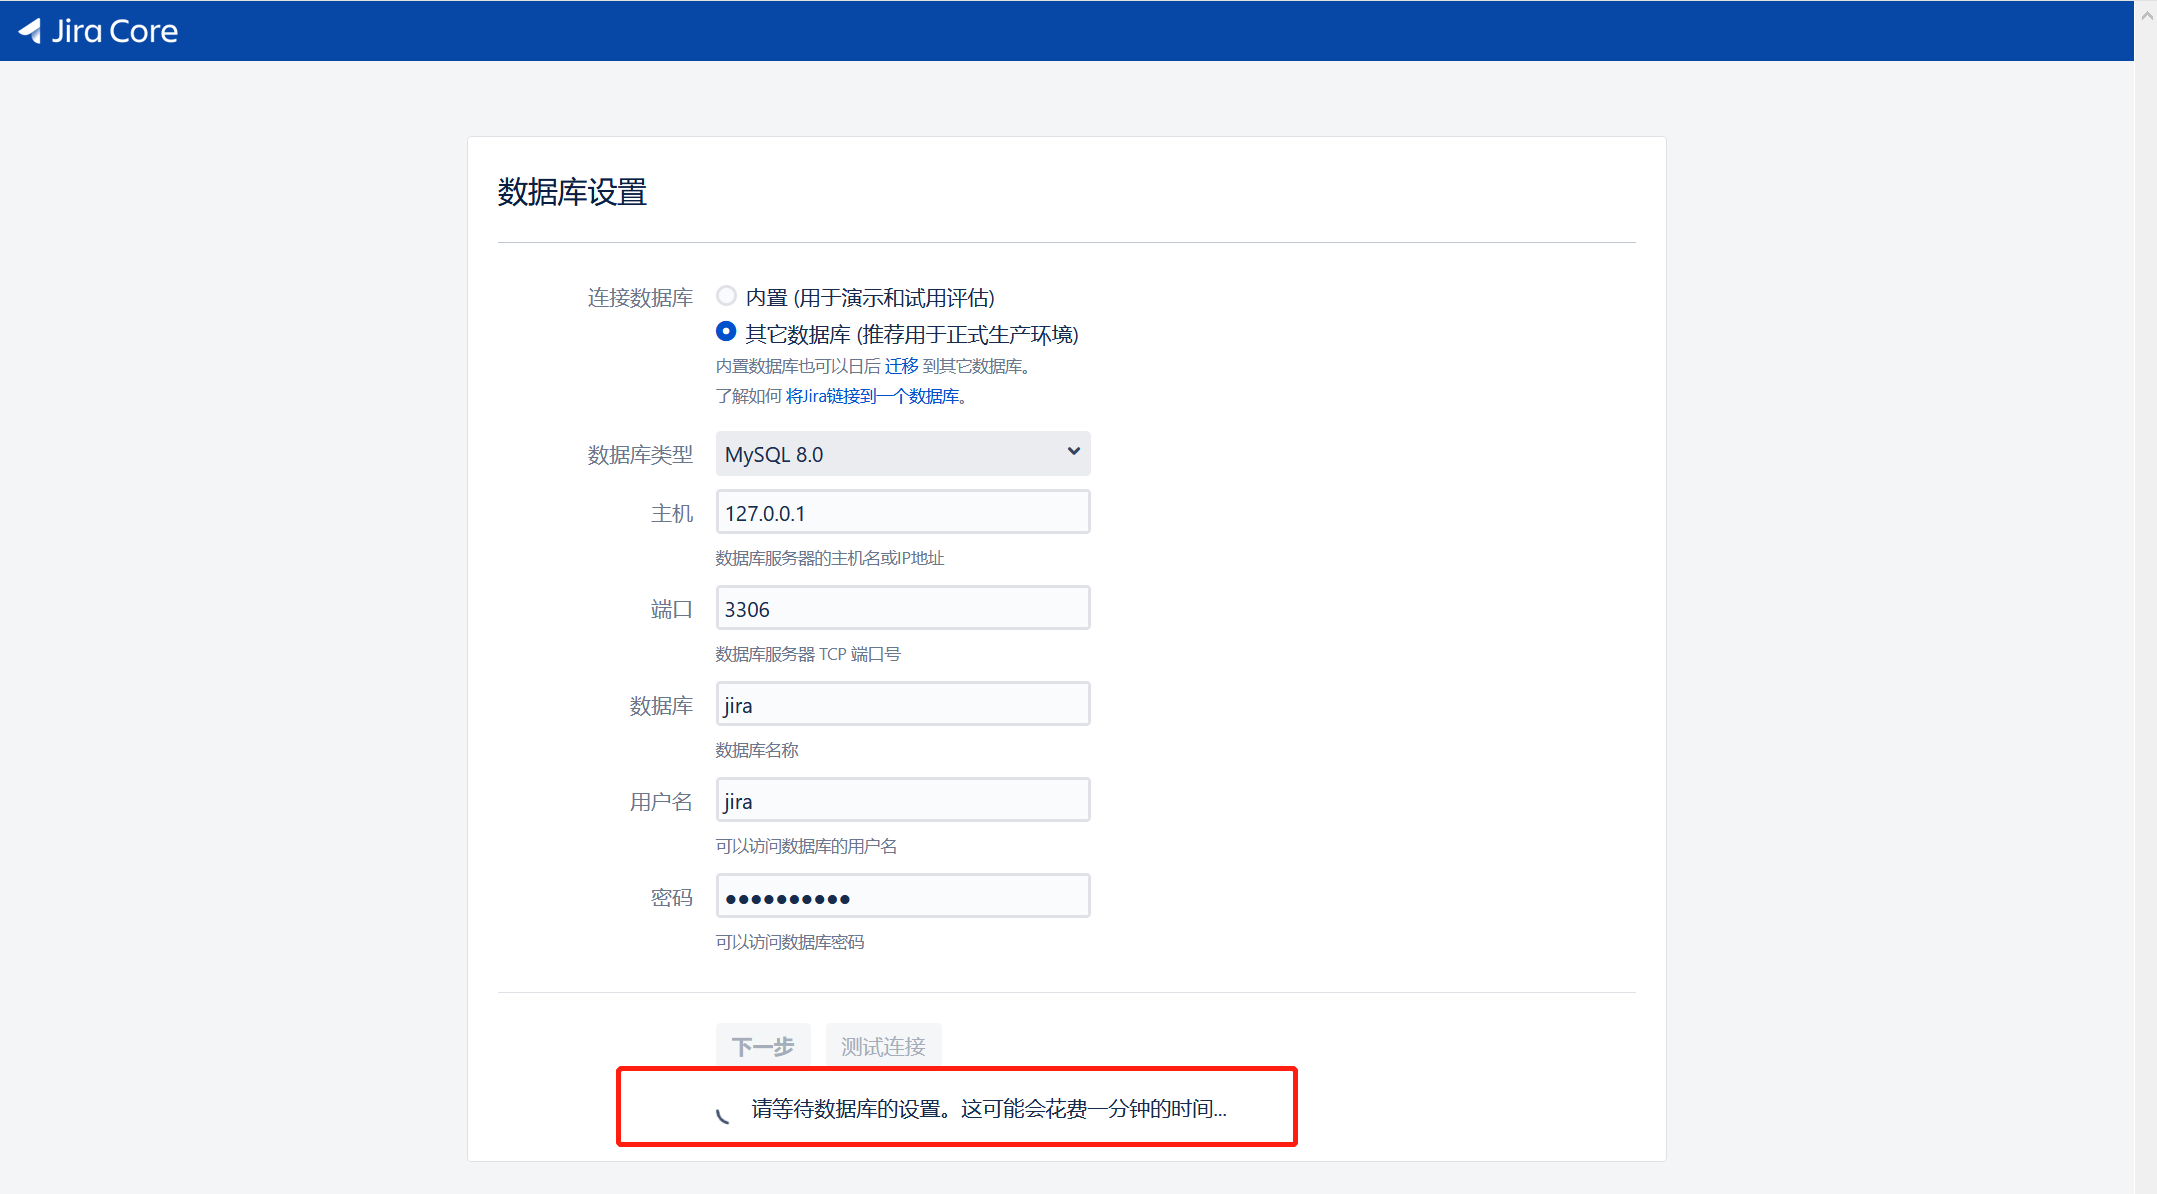
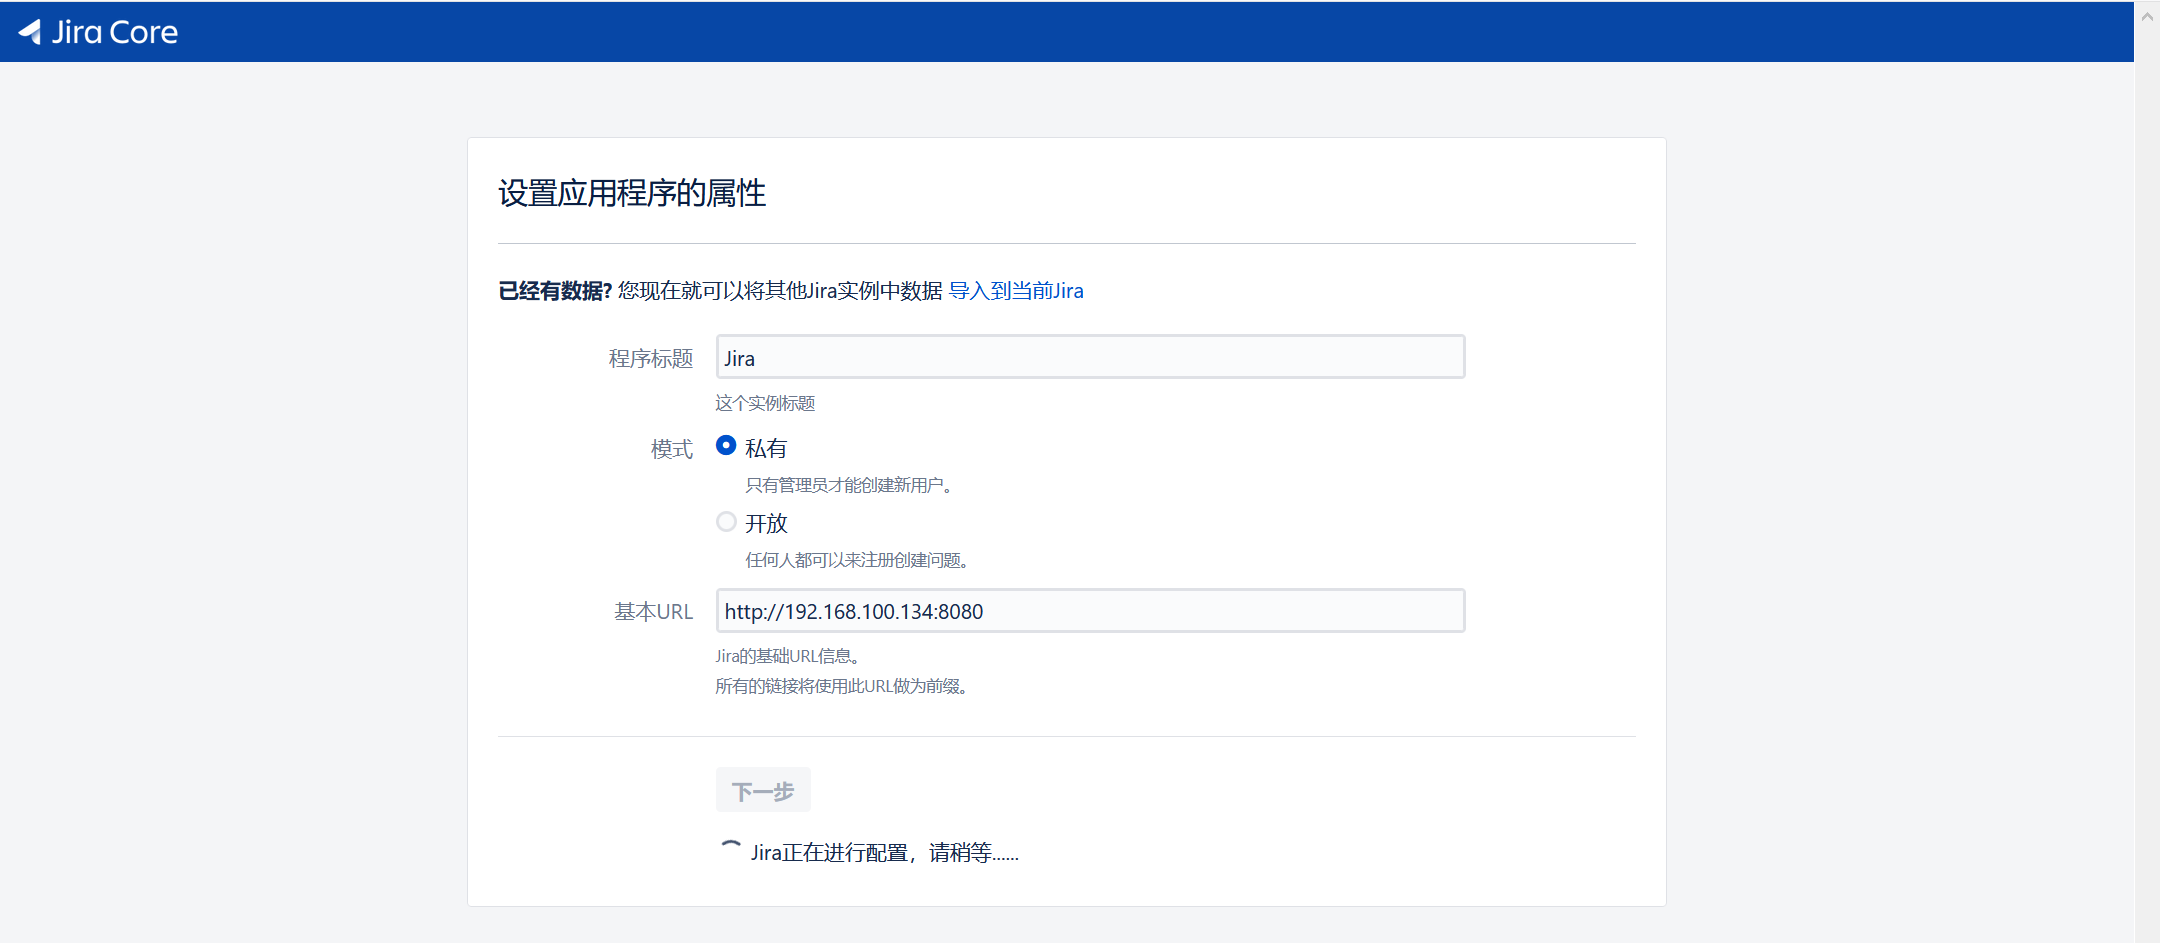
申请30天免费试用,粘贴秘钥,下一步即可,证书管理地址:https://my.atlassian.com/product
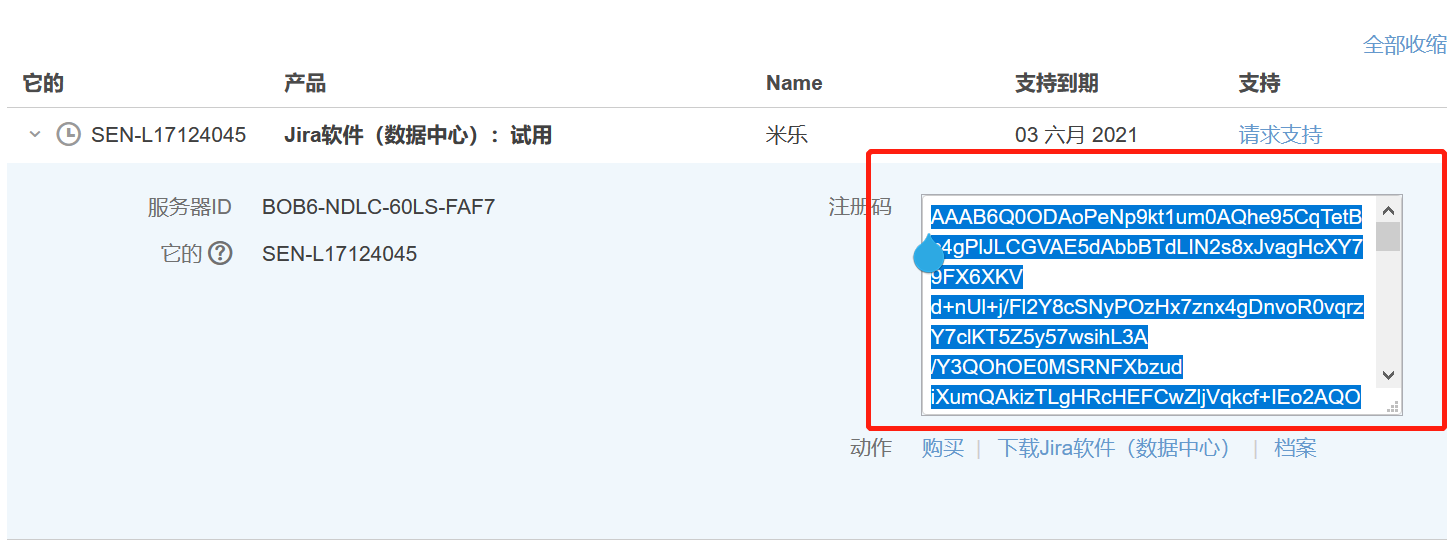

注意,在验证秘钥,下一步过程中验证成功后,jira会自动结束进程,需要我们自己再次启动JIRA既即可
[root@mysql-8-0-18 bin]# ./start-jira.sh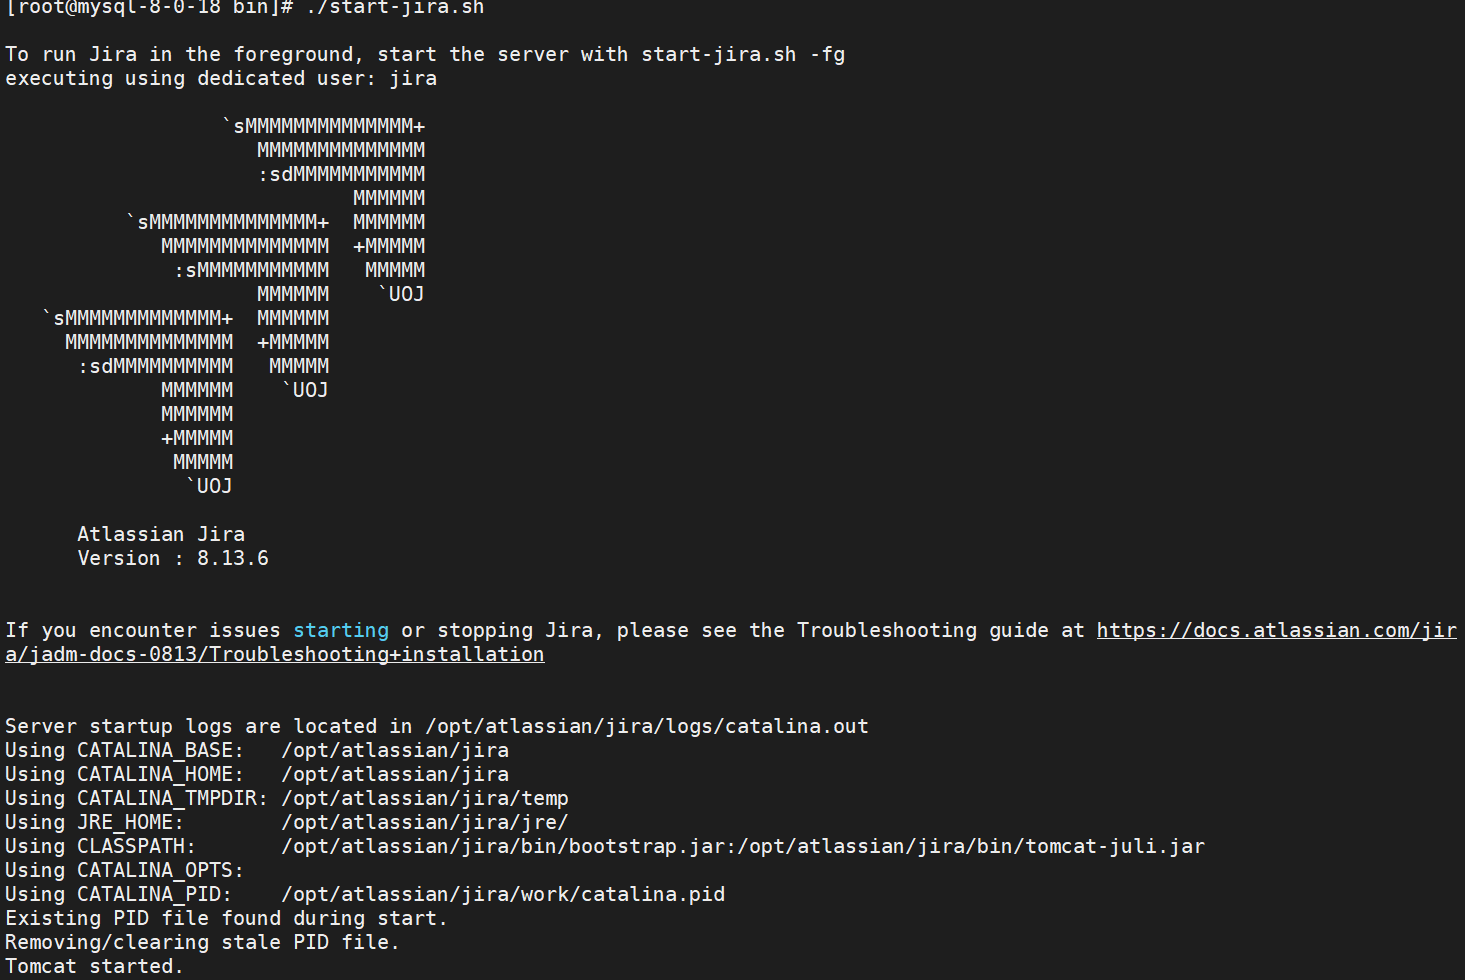
[root@mysql-8-0-18 ~]# rm /var/atlassian/application-data/jira/* -rf至此,新版JIRA-8.13.6+MySQL-8.0.18新手教程介绍完成,有疑问可留言...
提示:如遇链接失效,请在评论区留言反馈